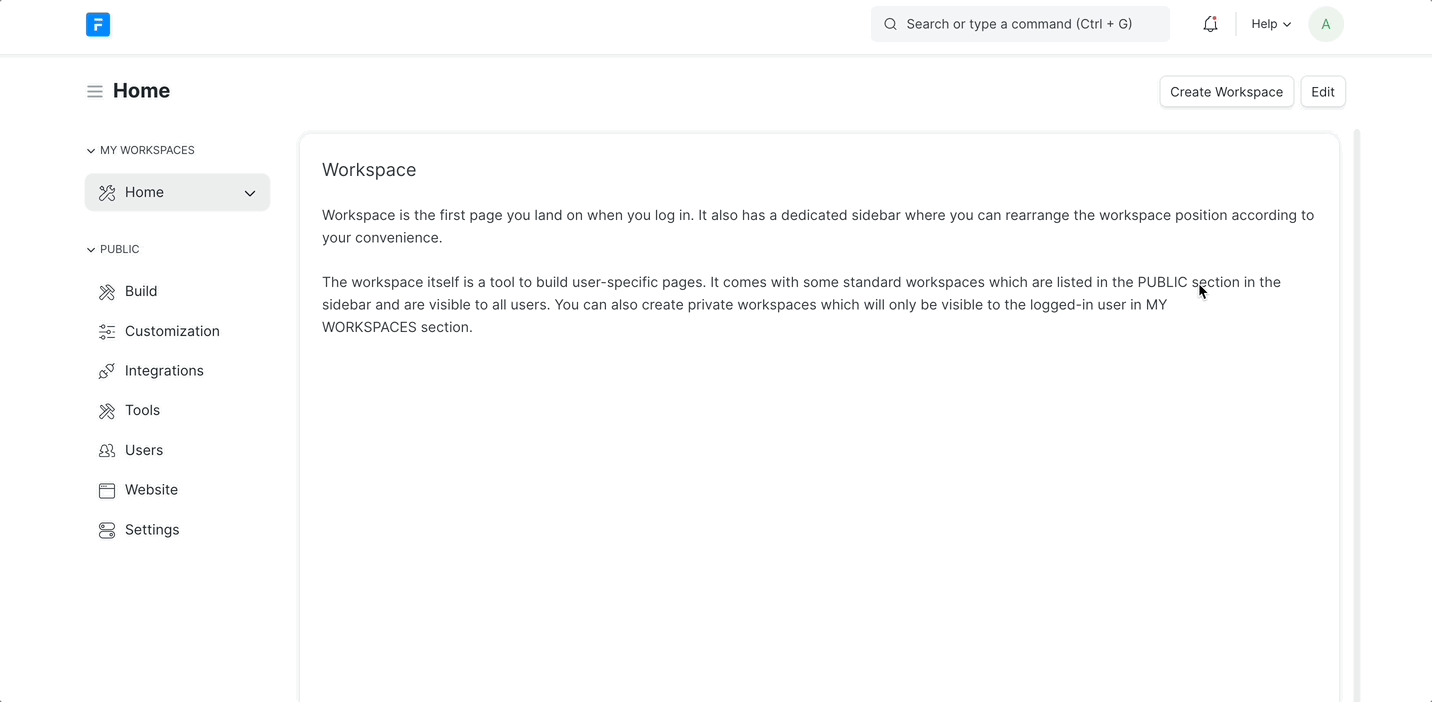
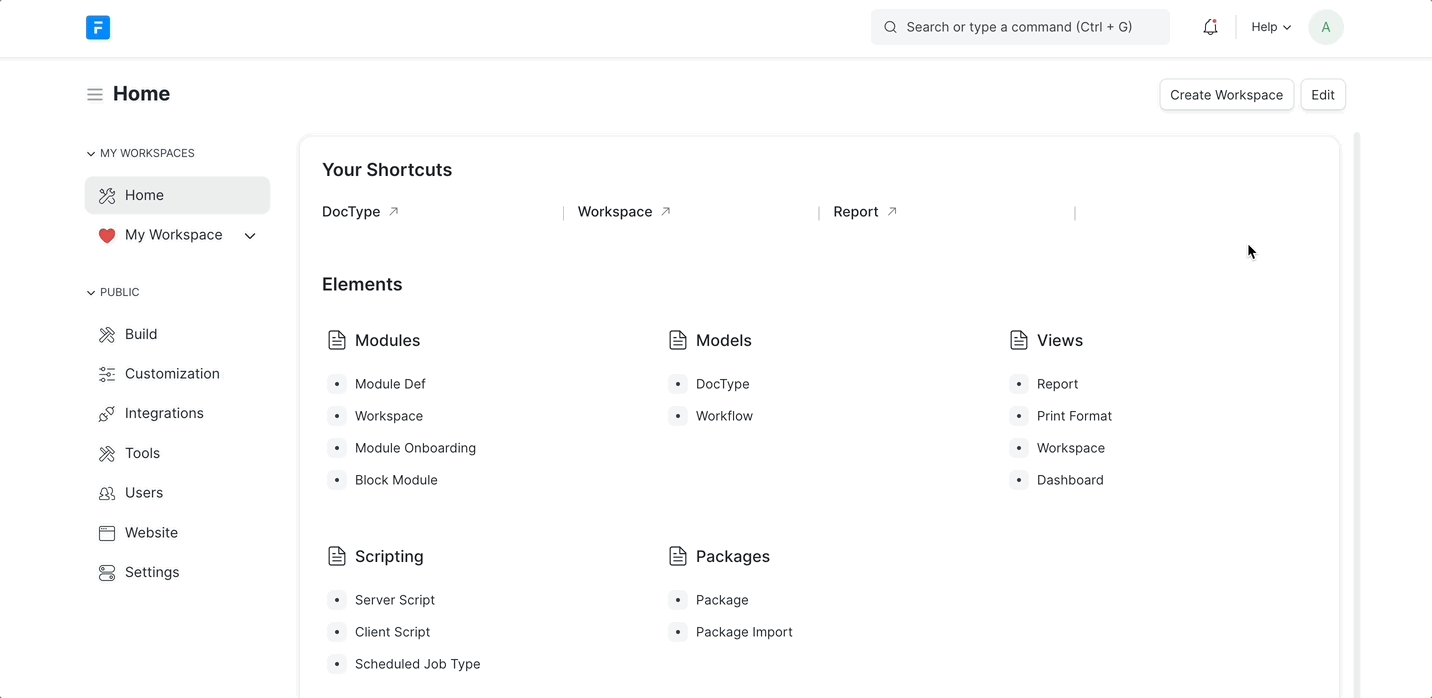
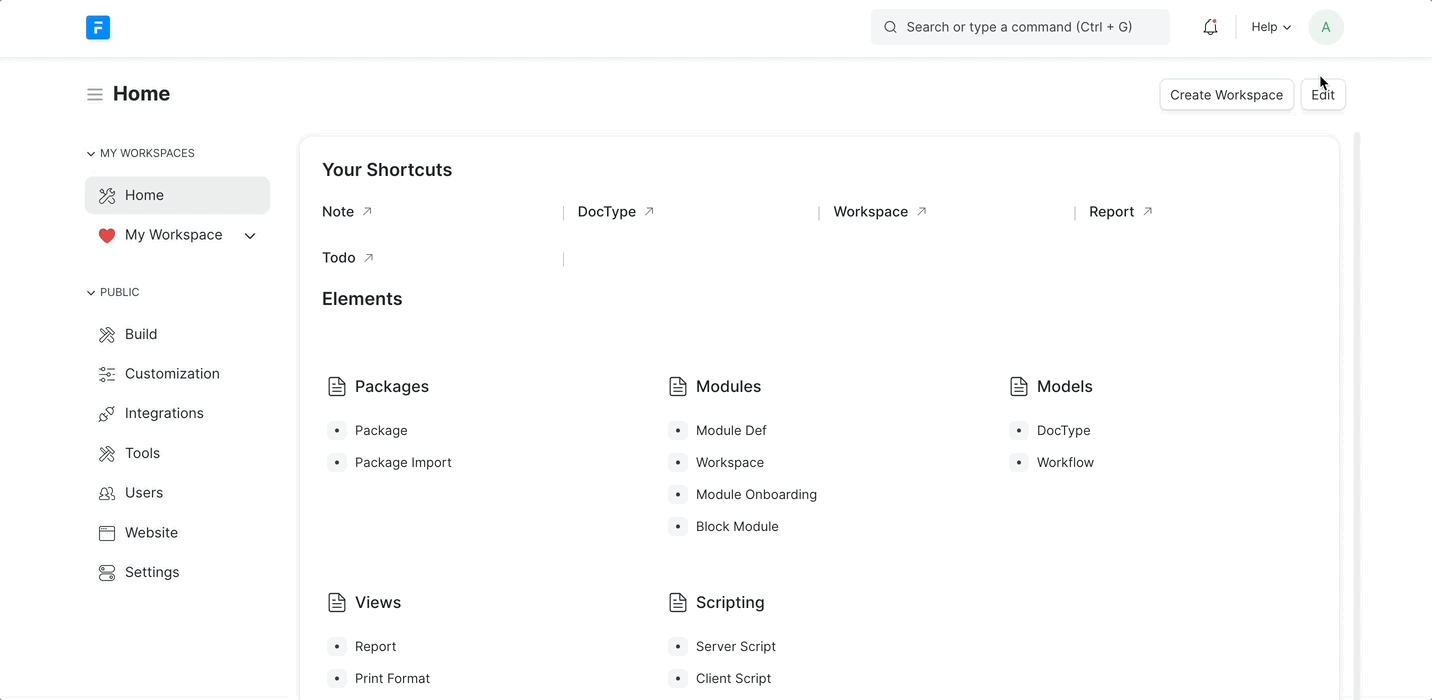
Workspace
The Workspace DocType is the first page users land on after logging in. It allows the creation and management of user-specific pages, known as workspaces, which can be customized with various blocks for different use cases.
Role Required
Workspace Manager Role: Required to create, write, or delete public workspaces.
Configurations
Workspace Fields

Field Name | Description |
|---|---|
Title | The display name of the workspace as seen by users. |
Parent | The parent workspace under which the current workspace will be nested. |
Public | Determines if the workspace is public (visible to all users) or private (visible only to the owner). |
Icon | Icon representing the workspace in the user interface. (Only if public) |
Indicator Color | Color representing the workspace in the user interface. (Only if not public) |
Blocks | The building blocks that make up the workspace, including text, charts, shortcuts, etc. |
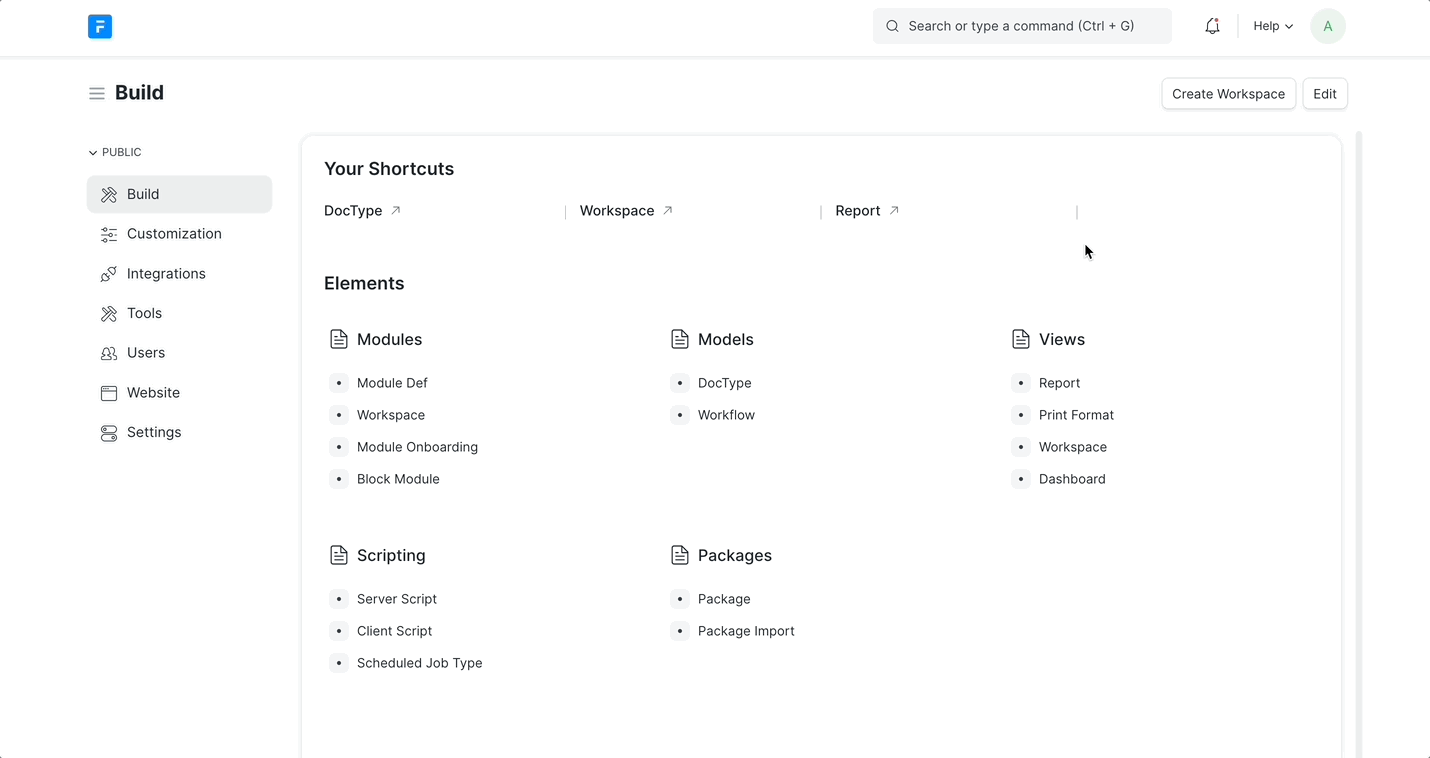
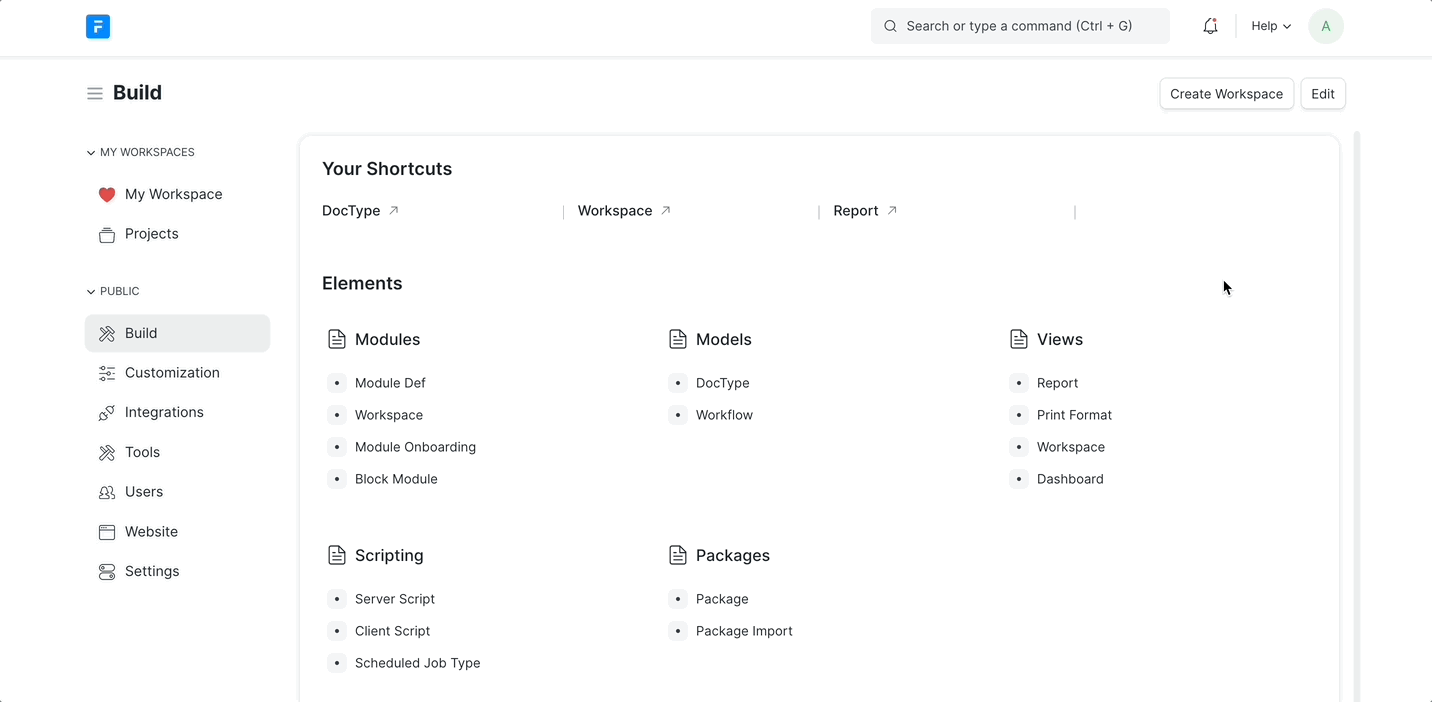
Workspace Blocks
Workspace blocks are customizable elements that can be added to a workspace to build a personalized and functional layout. These blocks include various types such as text, charts, shortcuts, and more, each serving a specific purpose to enhance the user's experience and productivity.
Block | Description |
|---|---|
Heading | Used for section headers or titles within the workspace. |
Text | Used for paragraphs or descriptive text within the workspace. |
Card | Contains links for quick navigation to Doctypes, Reports, or Pages. |
Chart | Displays dashboard charts within the workspace. |
Shortcut | Quick navigation to Doctypes, Reports, or Pages, customizable with views and filters. |
Spacer | Adds space between blocks to improve layout and organization. |
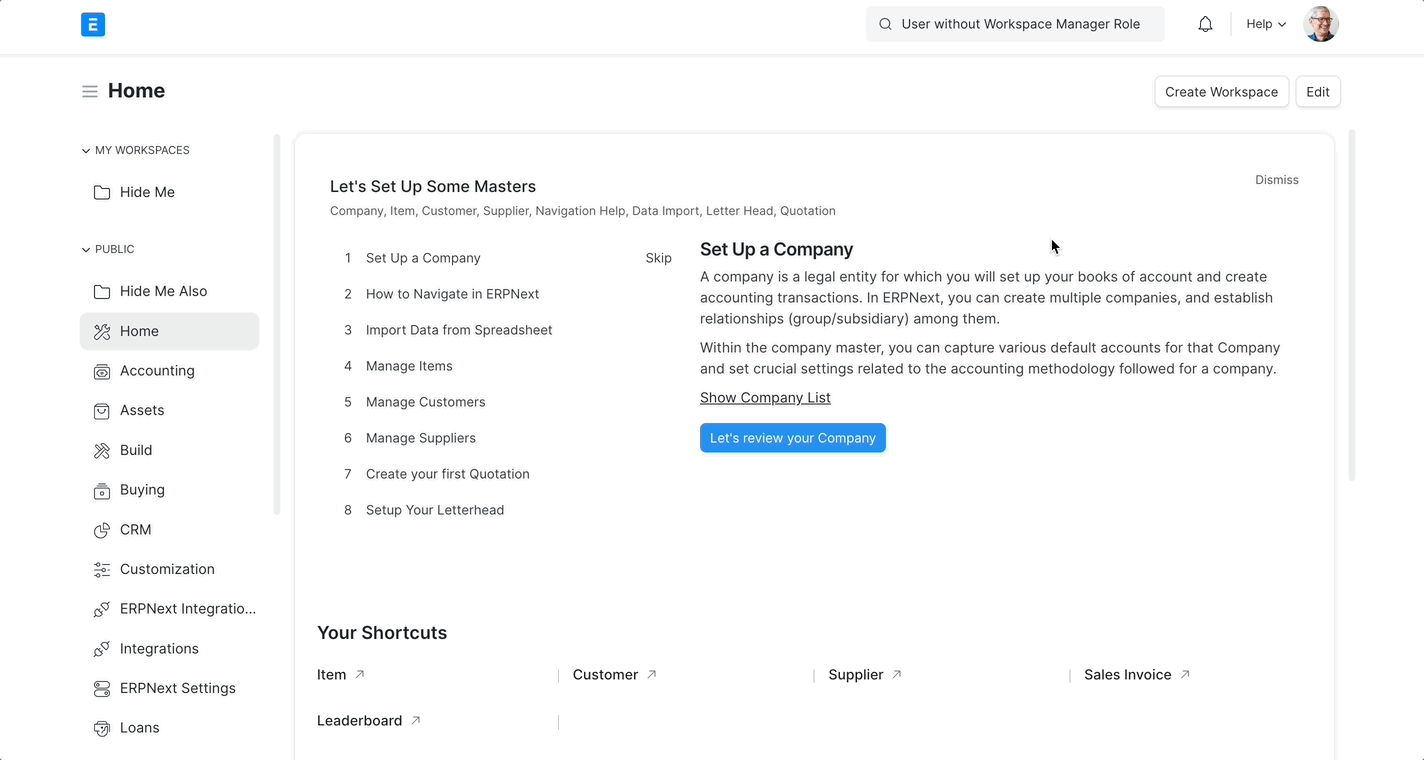
Onboarding | Guides first-time users with steps and descriptions or video links. |
Quick List | Shows recently updated records of selected doctypes with options to refresh and filter. |
Number Card | Displays numerical information in a card format within the workspace. |
Custom Block | Allows for custom content or functionality within the workspace. |
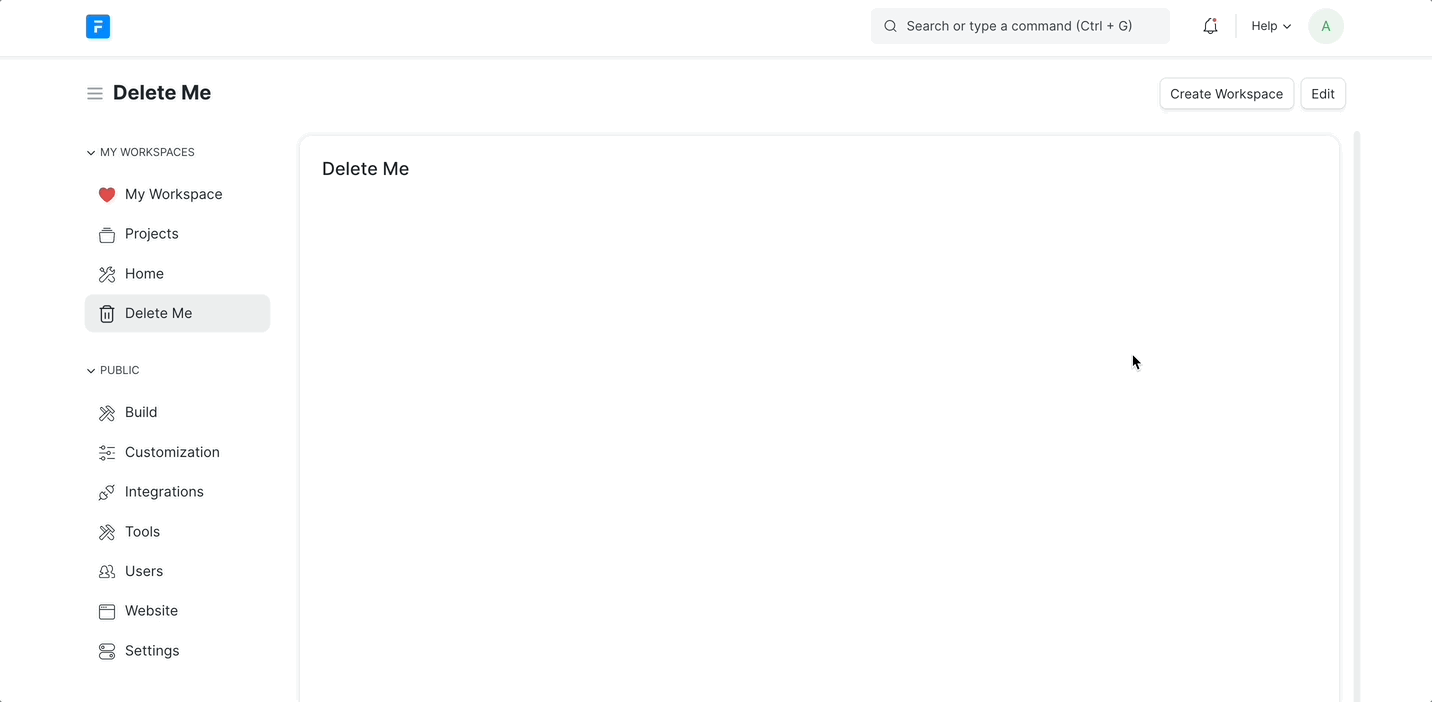
Sidebar Management
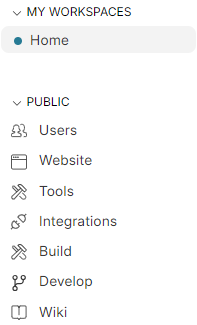
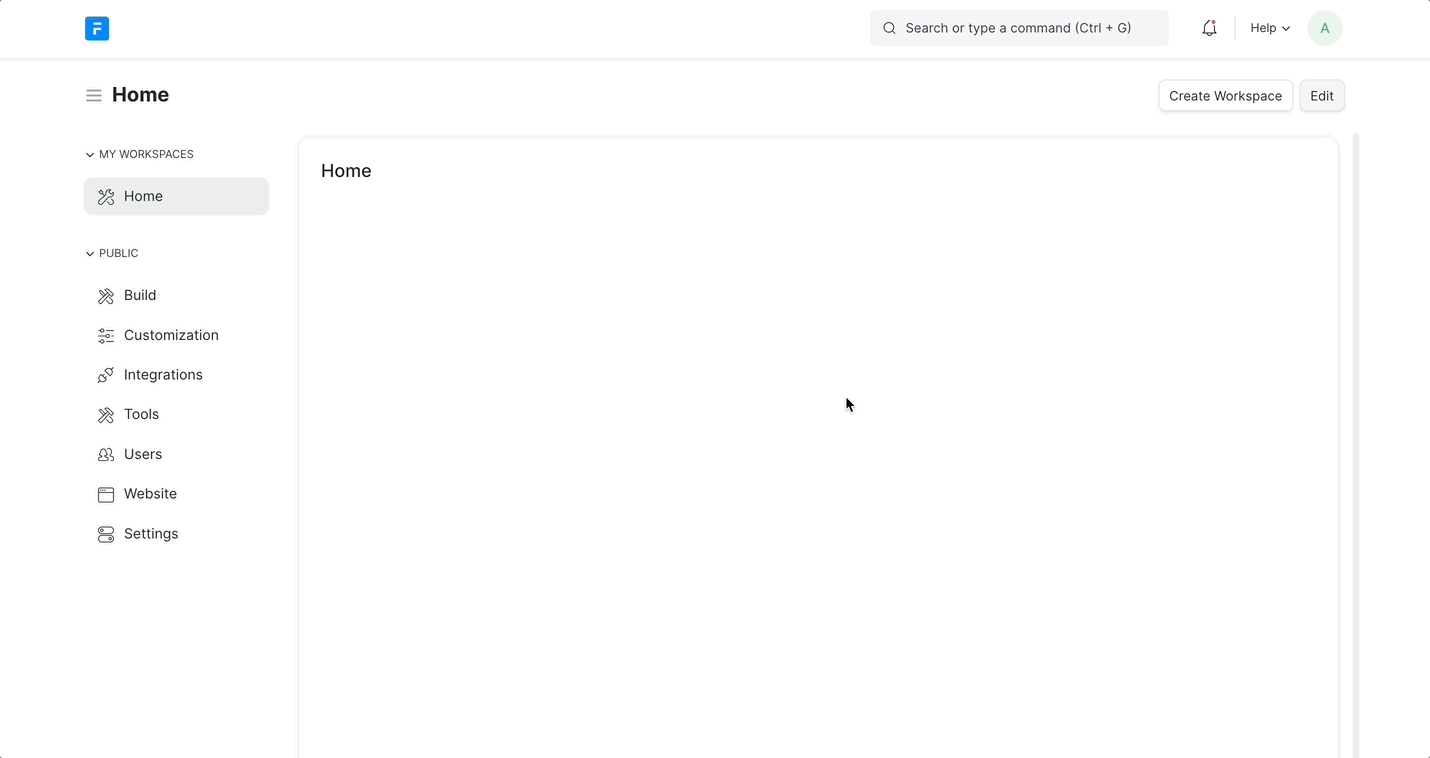
My Workspaces: Contains private workspaces visible only to the logged-in user.
Public Workspaces: Contains standard and public workspaces visible to all users.
Hiding Workspaces: Only Workspace Manager can hide Public Workspaces.
Access Configuration
Module-Based Access: Workspaces are visible based on user access to modules.
Role-Based Access: Further restricts workspace visibility within modules based on user roles.
Default Workspace
Configuration: Set the default workspace in the user settings form, accessible via the avatar menu or User Doctype.
Workspace Changes
The Save/Discard buttons are used exclusively for saving customizations made to the workspace page itself.
Any changes made through the sidebar are automatically saved in real-time as you make them.
Procedure
Create New Workspace
Click on the Create Workspace button.
Enter the title and click Create.
Create Child Workspace
Click on the Create Workspace button.
Enter the title.
Select a parent workspace in the Parent field and click Create.
Customizing Workspaces
Switch to Edit Mode by clicking the Edit button.
Update the title, icon, visibility, or parent of the workspace.
Create duplicates, hide, or delete workspaces.
Rearrange the workspace position by dragging and dropping in the sidebar.
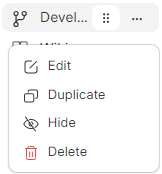
Edit Workspace details
Duplicate a Workspace
Delete Workspace
Hide Workspace
Only Workspace Manager can hide Public Workspaces
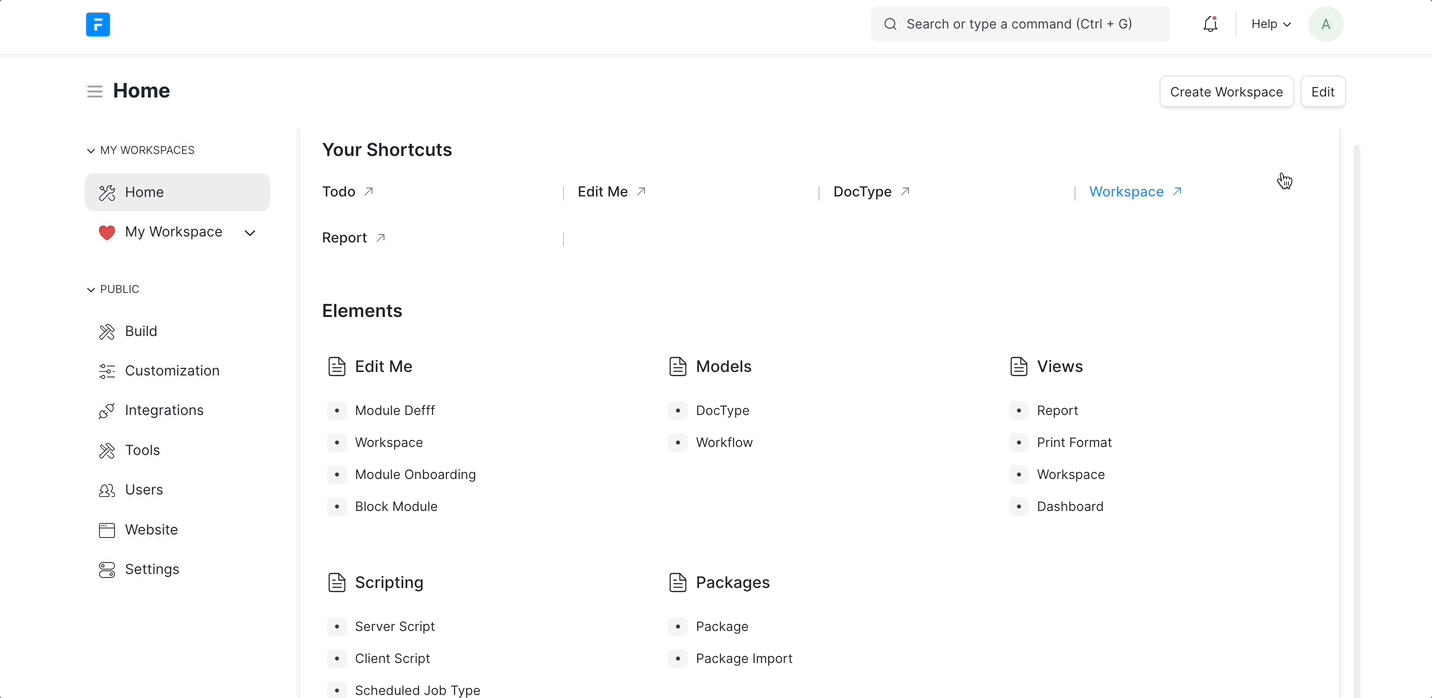
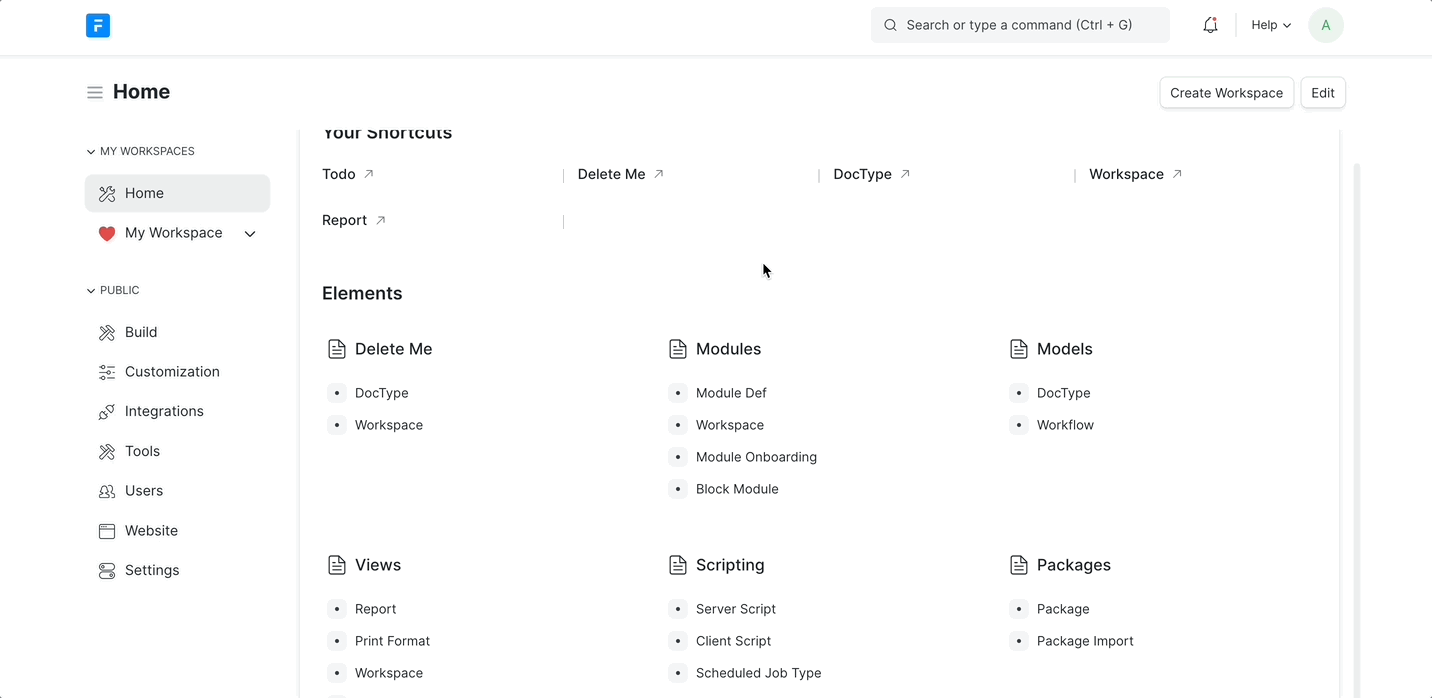
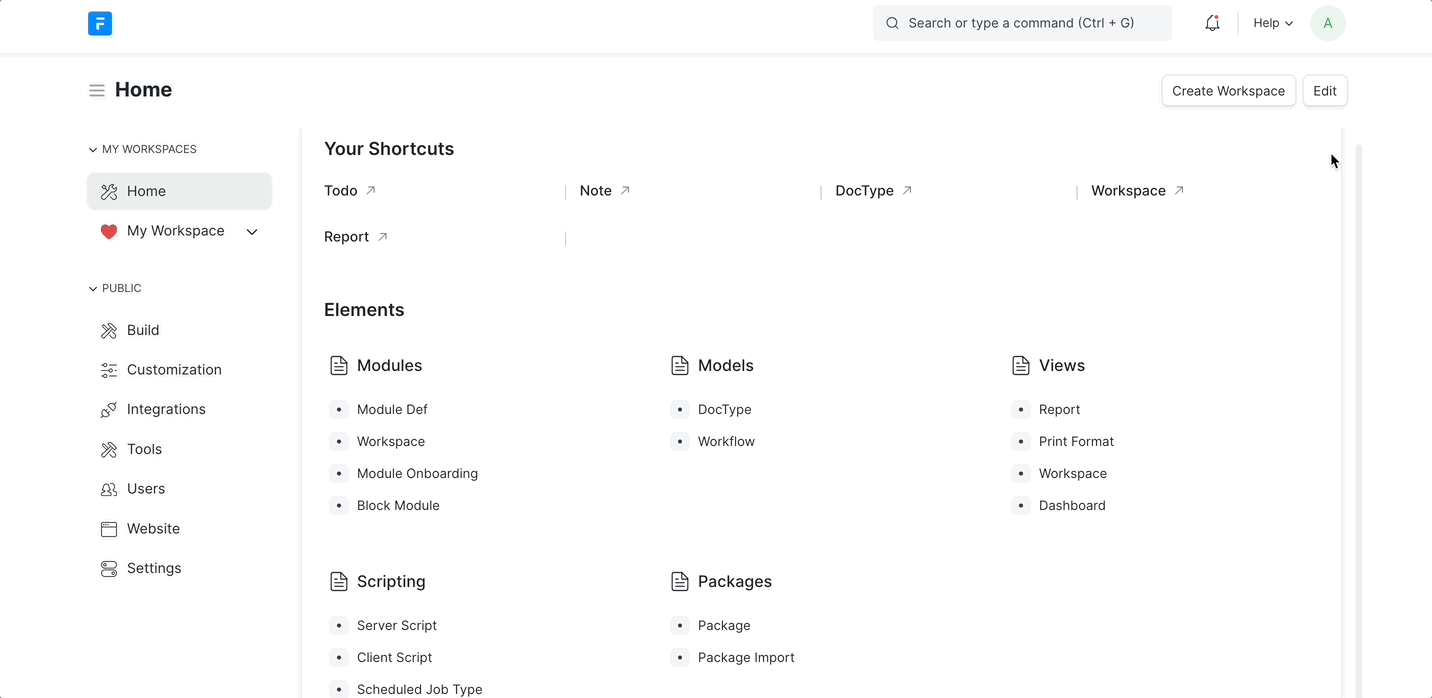
Customizing Workspace Page
Switch to Edit Mode by clicking the Edit button.
Add new blocks to a workspace by selecting the type of block and customizing it.
Edit existing blocks using the inline toolbar for text formatting or changing block properties.
Remove or delete blocks as needed.
Resize and rearrange the position of blocks within the workspace.
Add a new Block
Edit an existing Block
Delete an existing Block
Resize the width of a Block
Rearrange the position of a Block
Best Practices
Workspace Editor: Use the drag-and-drop Workspace editor to make your changes instead of the default Workspace form view.
Application Scope: After creating a new Workspace that is public, in order to include it in your My Application source control process, ensure the Application field is set on the Workspace form view.
Organize Workspaces: Group related workspaces together by using parent-child relationships.
Access Control: Use module and role-based restrictions to control workspace visibility.